
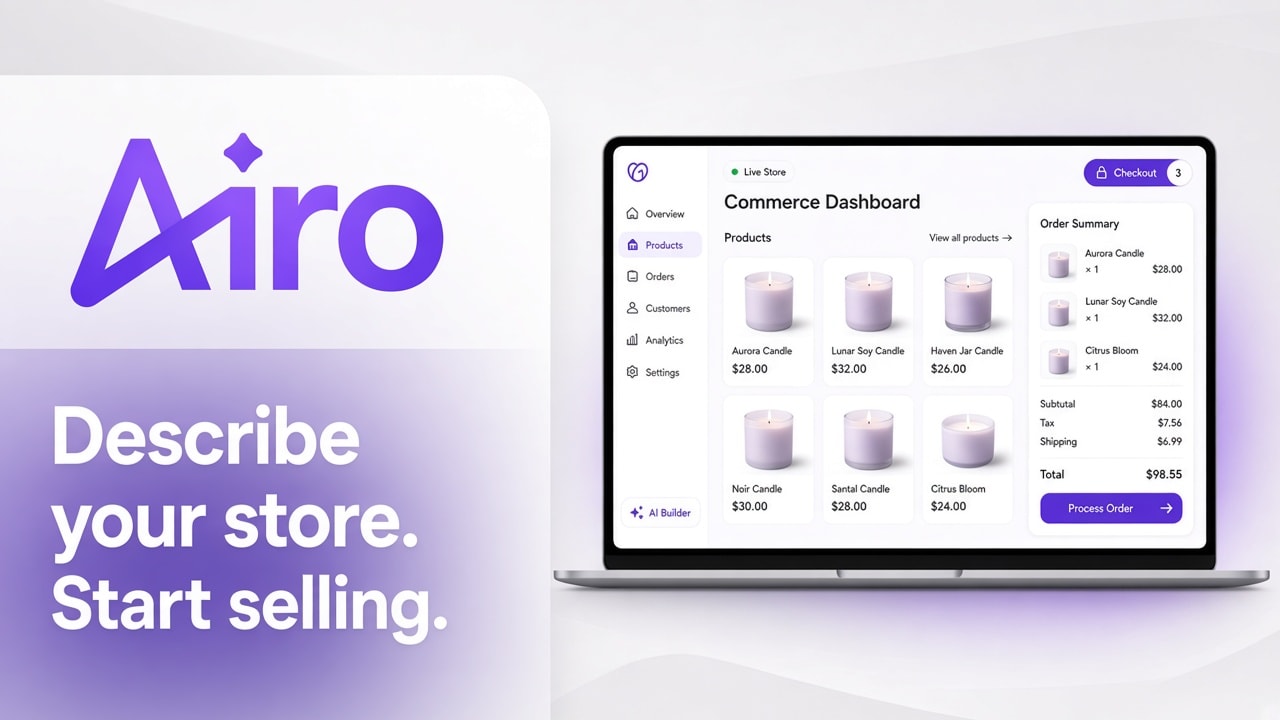
You describe the store you want to sell from, and GoDaddy Airo AI Builder builds the storefront for you and guides you through running it. Most first-time sellers do not get stuck on the design. They get stuck on everything after it: taking a card payment, charging the right sales tax, setting a shipping rate, ongoing order management, the ability to ship by quickly printing labels, managing exception flows like returns, updating inventory when restocking, creating new products, and finding where orders and payouts actually live. The list can go on forever.
Setting up an online store with Airo AI Builder means starting from a description of your business instead of a template, then finishing the parts a real store needs before it can take a first order. The storefront is built on top of GoDaddy's robust commerce capabilities so users do not have to build store management functionality from the ground up. This guide walks you through four steps: describe the store, chat with the agent or open the Commerce tab, connect payments, taxes and shipping, then test checkout and publish.
Try Airo AI Builder free with 50 free AI credits to build and preview. A paid plan is required to publish and take orders.
In this article
- What you get
- Step 1: Describe the store
- Step 2: Connect payments, tax, and shipping
- Step 3: Open the Commerce tab
- Step 4: Test checkout and publish
- FAQs
What you get when you set up a store in Airo AI Builder
A store here is more than a product page. You get a storefront plus the tools that let you charge customers and see the money move, all backed by GoDaddy's robust APIs.
| What you set up | What it covers | Where it lives |
|---|---|---|
| Storefront and product pages | Product listings and checkout, built from your description | Manage Products in Commerce Quick Links. You can also manage that through chatting with Airo. |
| Payments | Card checkout through GoDaddy Payments | Payouts and Quick links in Commerce canvas. You can also manage that through chatting with Airo. |
| Sales tax | Manual rates, calculation based on ZIP code | Settings > Tax Center in Commerce Canvas. You can also manage that through chatting with Airo. |
| Shipping | Free shipping, flat-rate shipping, or weight-based rates | Settings > Shipping in Commerce Canvas. You can also manage that through chatting with Airo. |
| Orders and money | Orders, transactions, recent payments, and payouts | Payouts and Quick links in Commerce canvas |
| Advanced store management | Deeper settings and reporting beyond the in-editor tools | Commerce Home |
Store setup with GoDaddy Payments in Airo AI Builder is available in the United States and Canada.
Step 1: Describe the store you want to sell from
Tell Airo AI Builder what you sell, who buys it, and how you want to get it to them. The more of the selling model you include in that first description, the less you have to fix later.
For example, if you run a small candle business called Copper Pine Candles, you might describe it like this:
Build a store for Copper Pine Candles, a handmade soy candle maker in Portland. I sell six candle scents in two sizes, ship across the US, and want customers to pay by card at checkout.
That description gives the builder the three things it needs: what the products are, how they vary, and that checkout and shipping are part of the job. Users who sell services (e.g. plumbers, consultants, etc.) can also set up their websites and collect payments for their businesses.
Review the storefront it builds, then keep refining in chat until the product pages match what you actually sell. If you want the full prompt-by-prompt approach to building with AI, read our guide to building an online store with AI instead of trying to write one perfect prompt here.
Step 2: Connect payments, tax, shipping, and discounts
Now that the storefront exists, set up the four things that turn it into a working checkout. Work through them in this order, because each one affects what a customer sees at the final step.
- Connect GoDaddy Payments (or your preferred payment method) so customers can pay by card at checkout. Product sellers and service businesses can both use it. You can also connect to other payment providers like Stripe if GoDaddy Payments is not supported in your region or country. (Currently supported in the US and Canada.) Note that ecommerce businesses who use Stripe are not able to use native order management and catalog management functionality at the moment.
- Set up sales tax with Tax. You can enter flat rates manually or based on the customer's ZIP code.
- Choose how you want to ship your orders. You can offer free shipping, charge a flat rate on every order, or set rates based on the weight of the order. You can purchase labels to fulfill orders from within Commerce Home after the store is set up using the native ShipEngine integration.
For Copper Pine Candles, that might mean automatic ZIP-based tax, weight-based shipping because a two-wick candle costs more to ship than a votive, and a single launch coupon for the first week.
Step 3: Open the Commerce tab to run the store
Once the site is built, open the Commerce tab next to Website and Domain at the top of the editor. You can either chat with the agent to make changes to your store or use the tab to run the store day to day.
The Commerce tab brings sales activity, recent payments, and payouts together, with quick links to manage orders, products, transactions, reports, and settings.
See performance in one place
The top of the tab answers the question every new seller asks first: is anything selling, and where is the money?
- Sales Activity shows your sales over a date range you choose, with a link through to your sales activity in Commerce Home.
- Recent payments lists your latest payments, with a link to view all of them.
- Payouts shows the total funds sent to your bank and your available balance.
Make store edits from Quick links
Quick links on the right side of the tab take you to the parts of the store you change most often:
- Manage Orders to work through what customers have bought
- Manage Products to add, edit, or remove what you sell
- Manage Transactions to review individual payments
- View Reports to look at store performance over time
- View Settings to adjust how your store operates
Pro tip: When you need more than the in-editor tools cover, the Commerce tab links out to Commerce Home, where deeper store management lives.
Step 4: Test checkout, then publish
Preview your store and walk through a purchase the way a customer would before you go live. Check that the product options are right, that shipping shows up as you configured it, and that tax appears at checkout.
The free plan supports building and previewing your store with 50 free AI credits. To publish and take real orders, you need a paid plan. Publishing is also where you set up the domain your customers will visit.
Ready to start? Start building your store with Airo AI Builder using 50 free AI credits.
FAQs about setting up an online store with Airo AI Builder
Can I set up an online store with Airo AI Builder without coding?
Yes. You describe your business and what you sell in plain language, and Airo AI Builder builds the storefront and product pages for you. You refine it by chatting, not by editing code. Setting up payments, tax and shipping happens through the Commerce tab settings rather than through configuration files.
Where do I manage orders and products after the store is built?
Through chatting with the agent or in the Commerce tab. You can open the tab from the drop down (+) sign next to Website and Domain in the editor. Quick links there take you to Manage Orders, Manage Products, Manage Transactions, View Reports, and View Settings. Advanced store management functionalities are available within Commerce Home.
Which countries can use GoDaddy Payments with Airo AI Builder right now?
Store setup with GoDaddy Payments in Airo AI Builder is available in the United States and Canada. Sellers in other markets can still build and preview a site, but the native commerce setup which includes catalog and order management support via Commerce Home is not available to them yet. Check the product page for current availability before you plan a launch, since supported markets can change.
Can I move my existing GoDaddy Online Store into Airo AI Builder?
No. There is no migration path from GoDaddy Online Store into Airo AI Builder. If you want to sell through Airo AI Builder, you need to build a new store and add your products again.
Does Airo AI Builder handle sales tax and shipping?
Yes, through Tax and Shipping. For tax, you can enter rates manually or have tax calculated automatically based on the customer's ZIP code. For shipping, you can offer free shipping, charge one flat rate, or set rates based on the weight of the order. You choose both in the Commerce tab settings.
Can I take subscriptions or send invoices from this store?
Recurring payments, invoicing, and email automations are not part of this GoDaddy Payments setup, but if you are using Stripe or a different payment method it will work.
Do I need a paid plan to publish my store?
Yes. The free plan gives you 50 free AI credits so you can build your store and preview how it looks. Publishing the store so customers can visit and buy requires a paid plan. Publishing is also when you set up the domain people will use to find you.
Start selling from a store you built by describing it
Your first order is closer than a full store build usually feels. Describe what you sell, connect payments, set your tax and shipping, and preview the checkout your customers will use.
Start building your online store with Airo AI Builder and use your 50 free AI credits to build and preview before you publish.